Now that I’m more confident in my ability to make superhero costumes, I’ve decided to try and make a Huntress costume, based on the Justice League Unlimited animated series for DragonCon 2012.
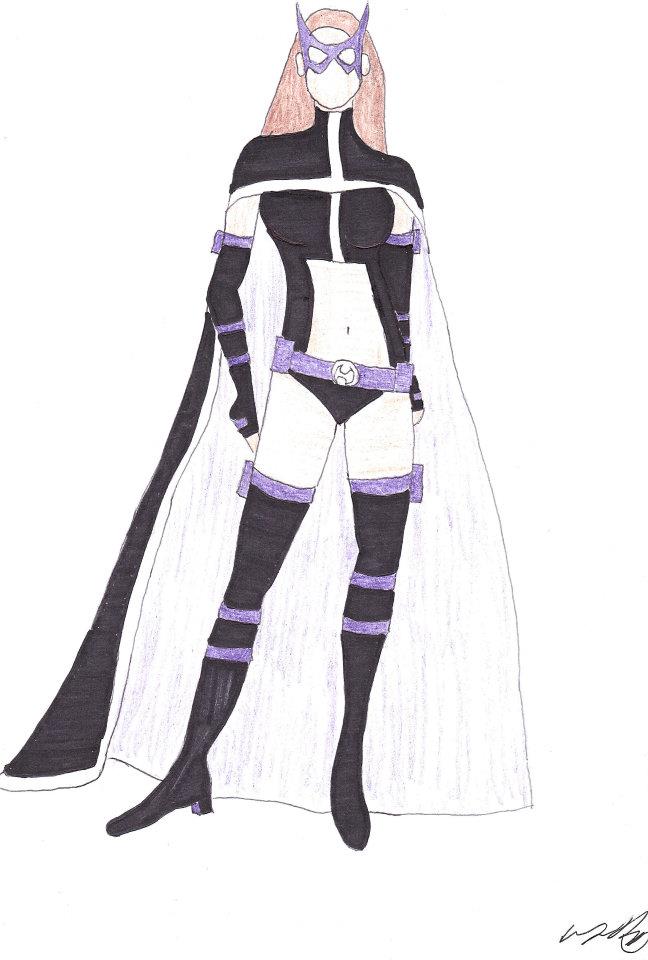
1. Concept art. I never start a costuming project without concept art. That way, I always have something to look at when I’m getting frustrated with a small detail.
2. Patterns and fabrics. My intent is to make everything from spandex this year with the exception of the pouches and belt. I’ll need black, purple and white.
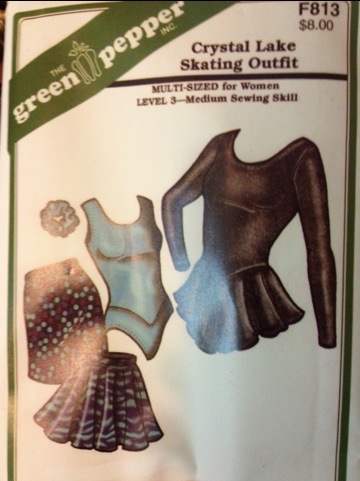
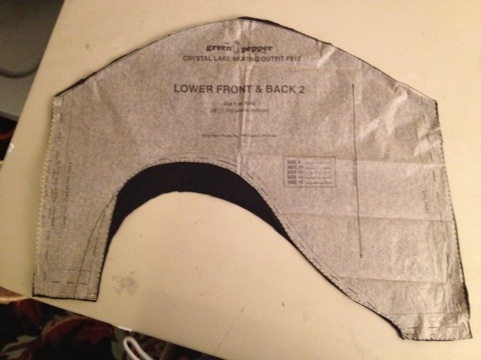
Since this is another “armorless” costume, I will use the same Green Pepper pattern I used for the Deathstroke costume, with some modifications – open tummy window and white stripe down the middle. I plan to make my own boots this time around, and all the tutorials I’ve found recommend 4-way stretch spandex. Luckily, this is what the pattern calls for as well.
I ordered all my spandex from Spandex World again. It came very quickly! The picture doesn’t do the purple justice. It’s a nice deep purple color. Now I can get started on making this costume!
3. “Found” pieces. Some pieces can’t be made. For that, I turn to the power of the Internet, the local thrift store or the local craft store to complete the look.
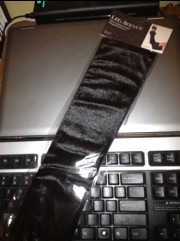
After last year’s frustrations with the gloves, I decided to not even try to tackle it this year. There will be enough frustration in my future with making a tummy window. So I bought these gloves from Leg Avenue. They’re not quite the fabric I wanted, but it took forever for me to find the length and style I wanted, so I’m willing to compromise on this.
I ordered these shoes to use as the heels from Amazon
My plan is to attach the tops of the thigh high boots to dance tights. I ordered tights from Dancewear Solutions
I ordered this mask, also from Amazon, to modify to make the Huntress mask
The gloves have pouches at the top of them. To duplicate this look, I ordered these arm running bands with pouches, which I intend to paint to match the purple fabric
I plan to modify this belt buckle, also from Amazon
As recommended, I picked up some ShurGrip soles to attach to the bottom of the “boots”
I’m using this tutorial by DJSpider in conjunction with the next tutorial on attaching heels.
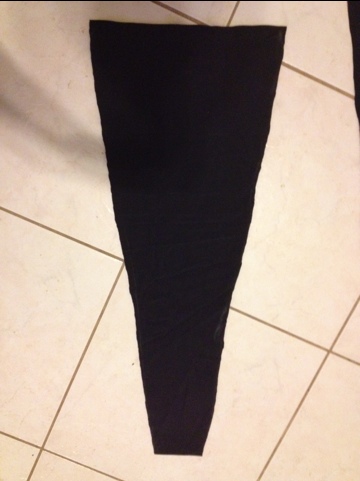
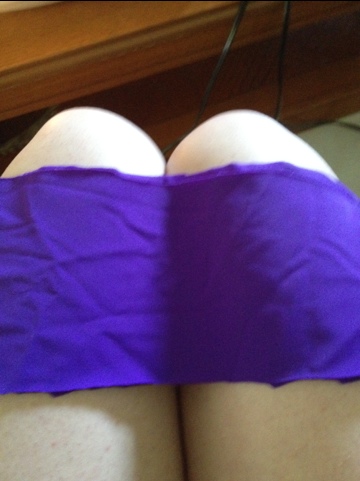
This is my first attempt to make spandex “socks”, and will serve as the base for adding stripes and heels later. I folded the fabric and put the fold where my toes will be. I slipped my leg under the top layer, so there was spandex on top and underneath my leg. I then took some chalk and traced along the middle of my leg where the fabric fell. Here’s the first cut.
After stitching up the sides, I tried on the sock. It was too big, which is perfect. You can always take away fabric. So here’s the repinning:
Spandex thigh-high socks!
I cut a 4″ strip of purple spandex to go on the top of the “boot”.
I attached the band upside down on the top, so there’d be a nice, finished edge. The finished size was about 2.5″
Next I cut strips about 2″ wide to make the bands of purple lower down on the leg.
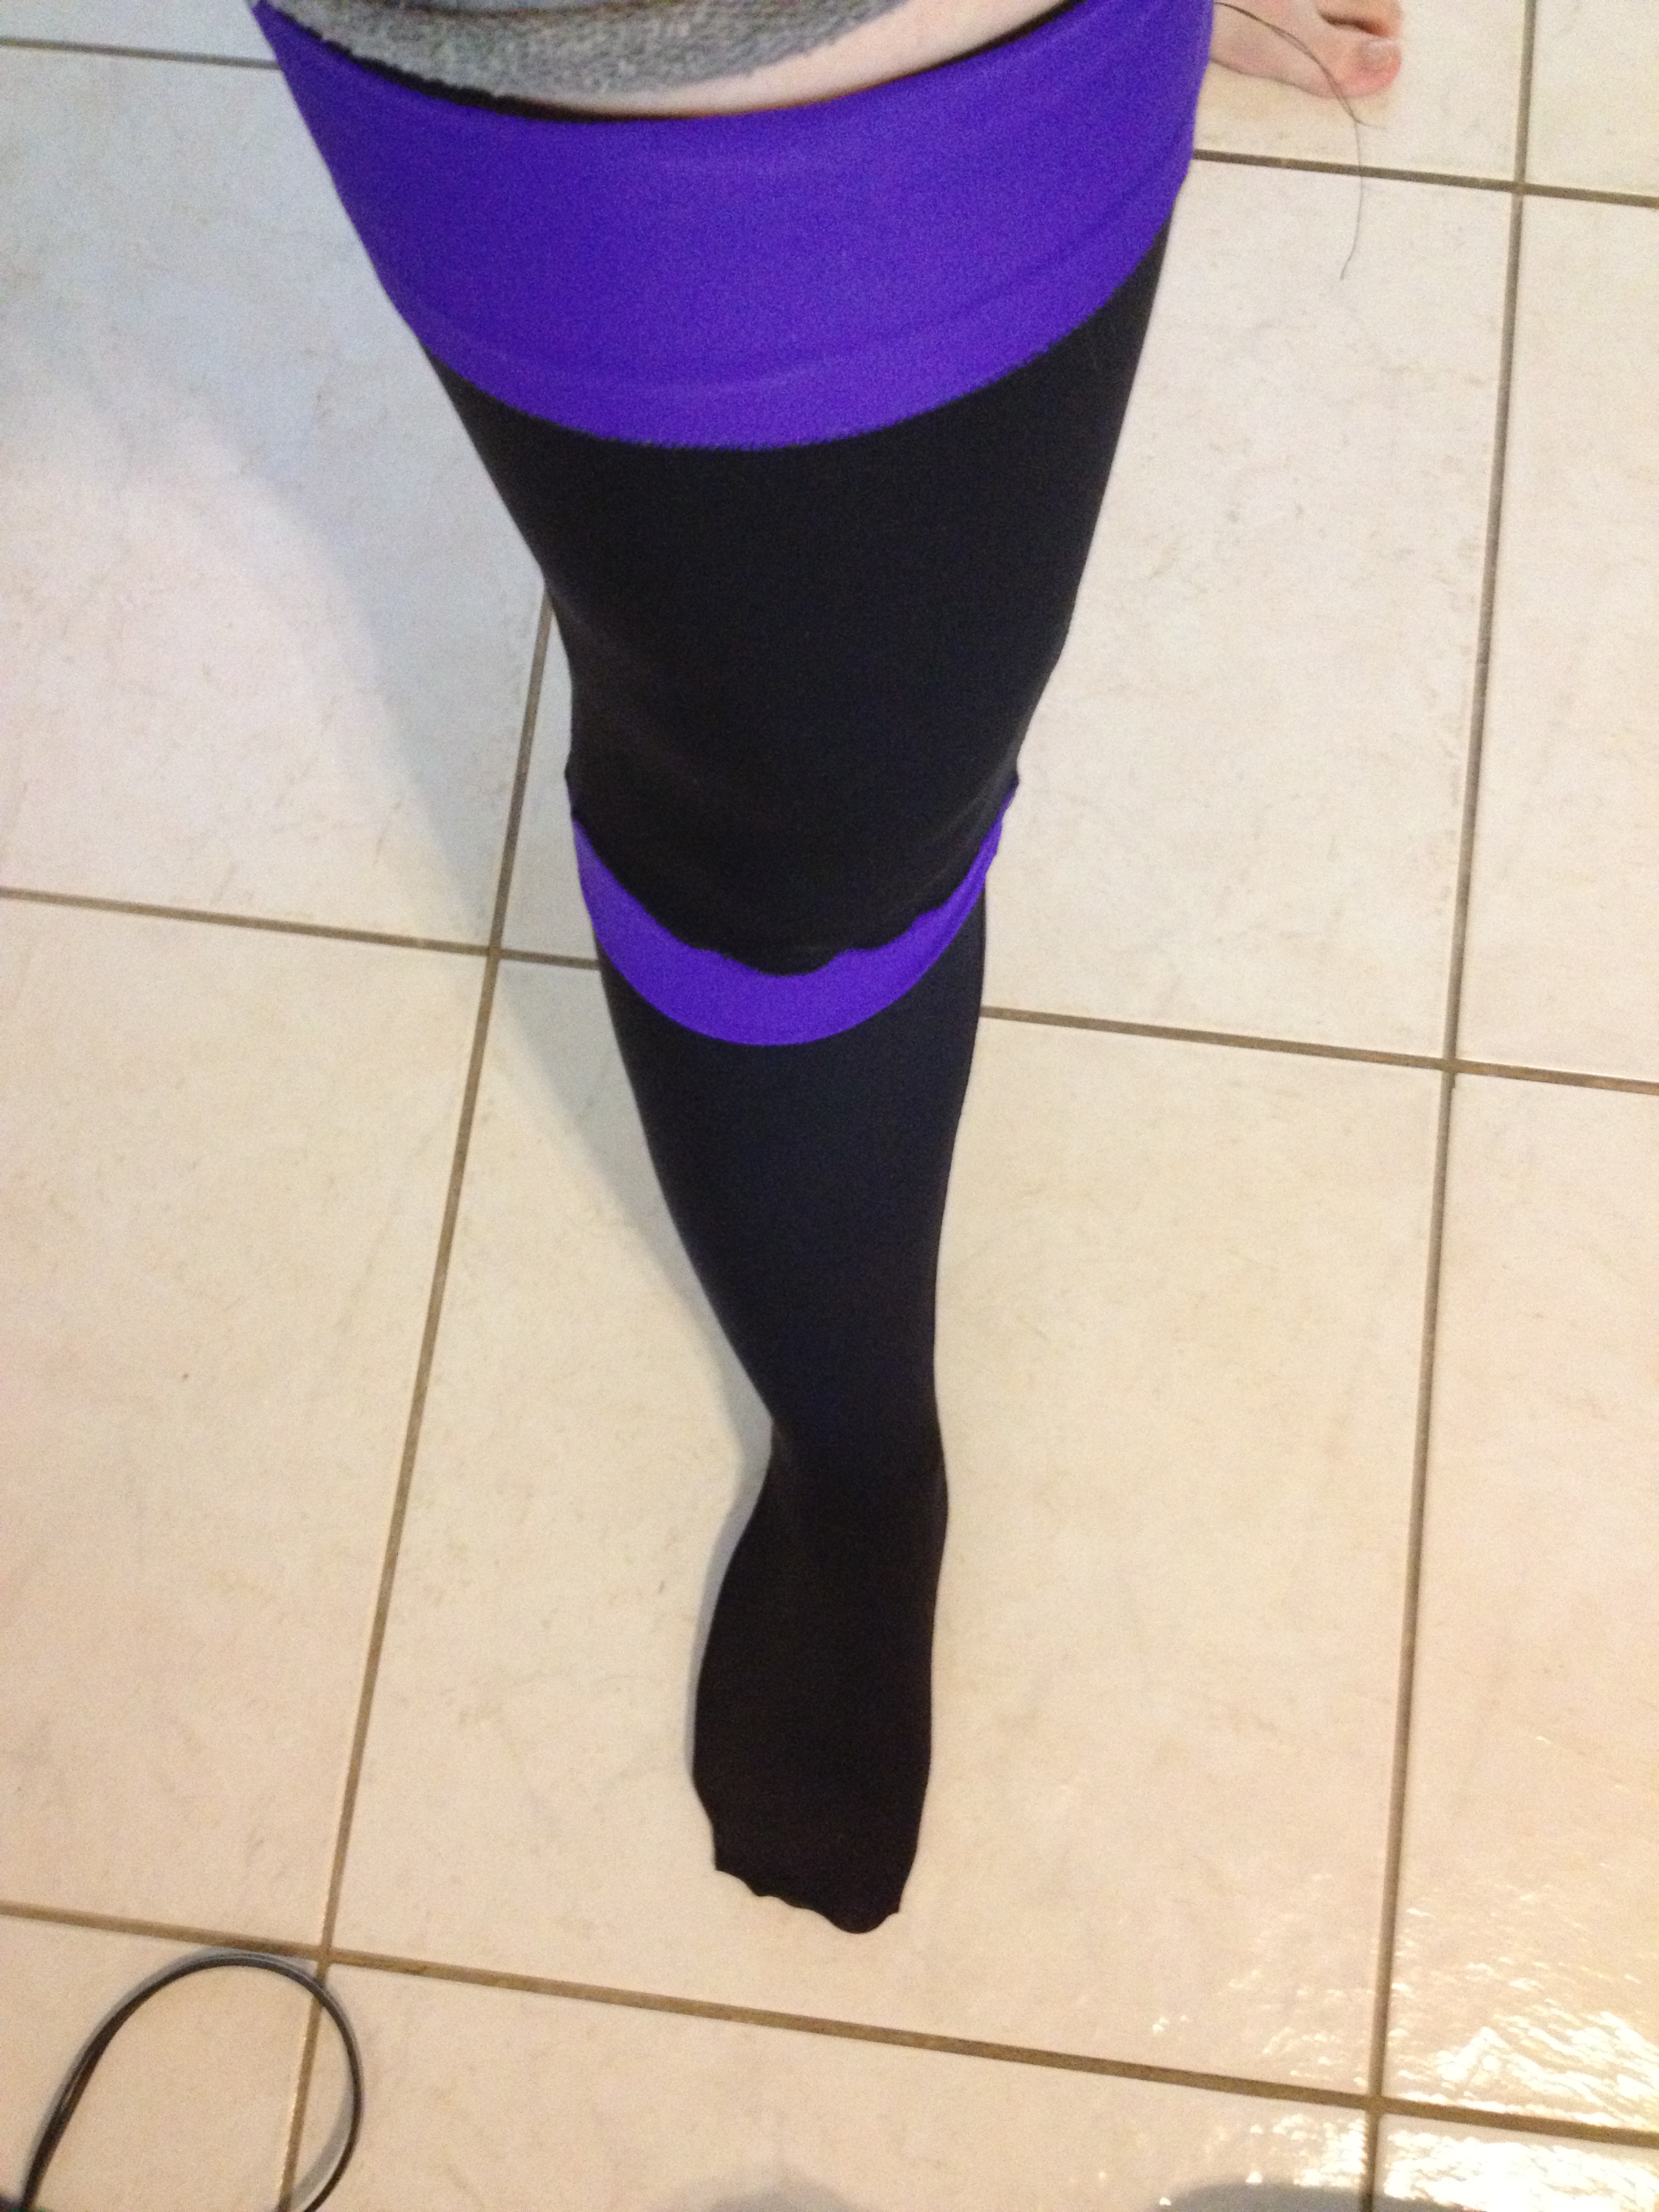
Now to attach them! I used a zigzag stitch and attached the bottom first, upside down, so I could fold it up with a nice finished edge. Then I folded the top under a little and stitched again.
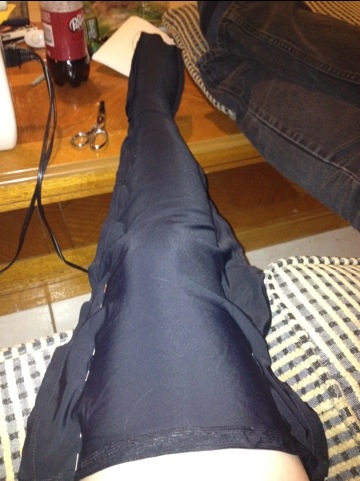
Next comes attaching the socks to the tights. Here’s what it looks like after it’s all sewn together:
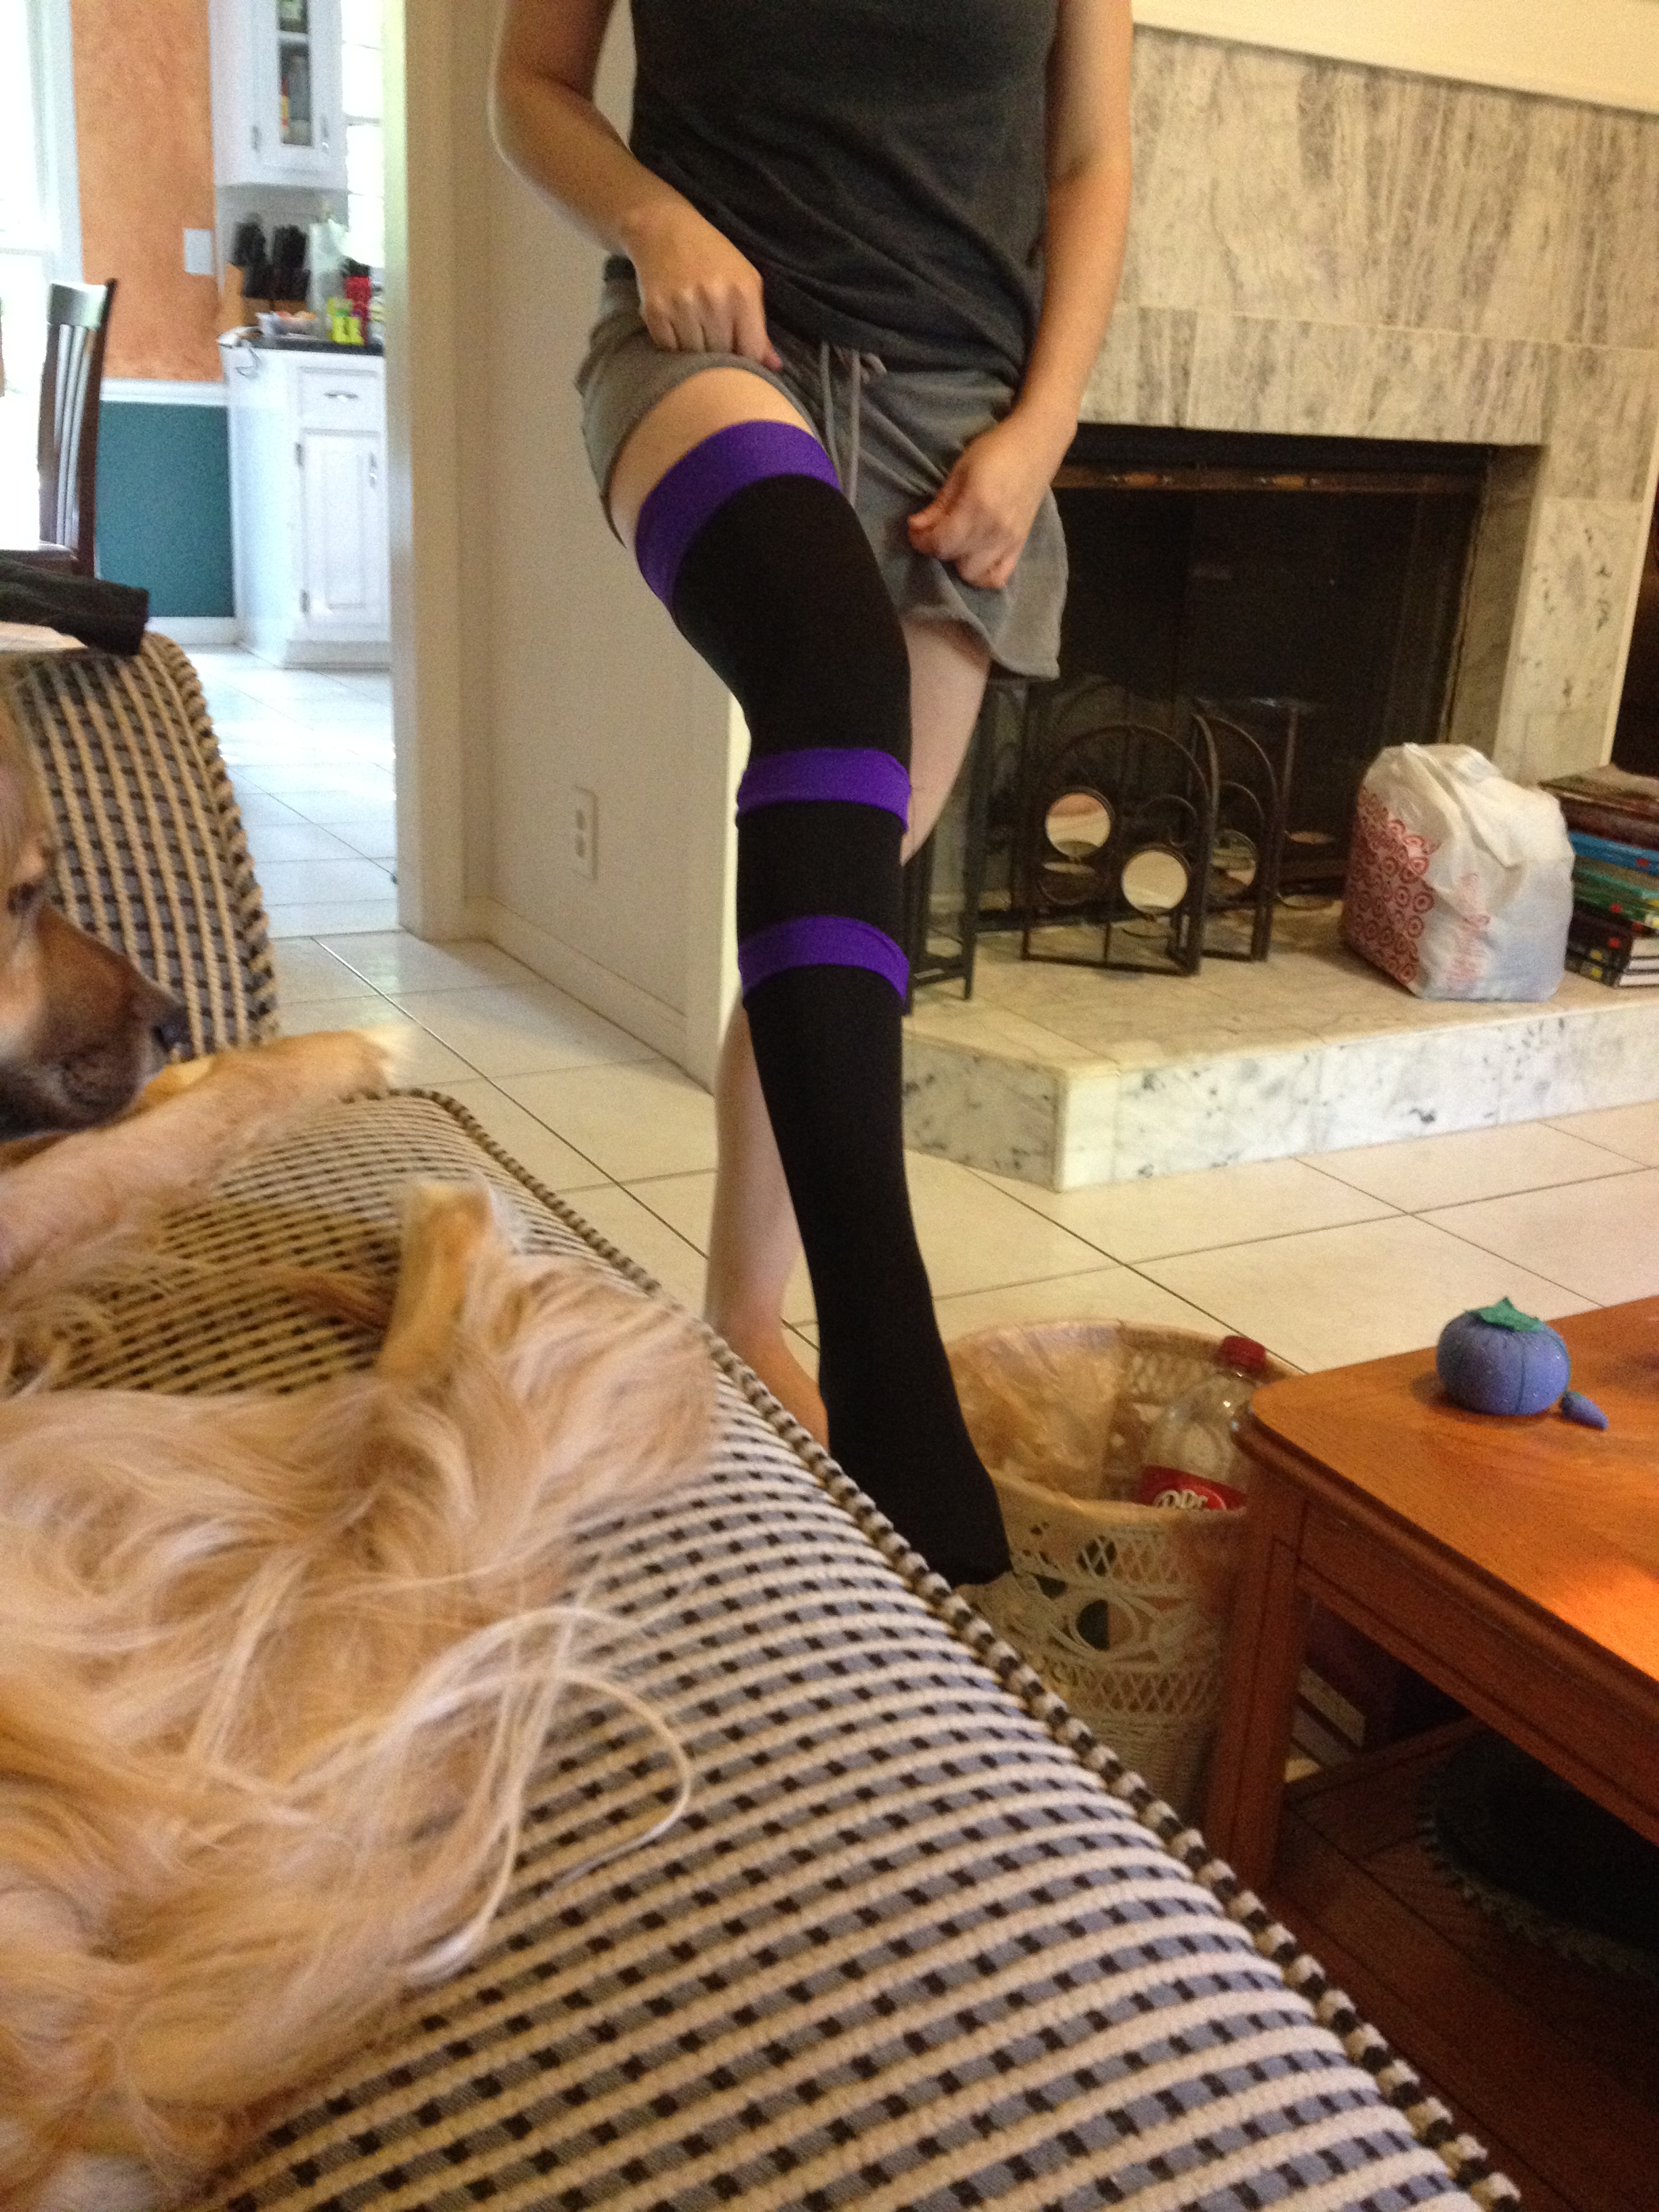
Here’s some reference for how it looks with the rest of the costume:
I’ve decided this year to try and make my own boots. I’ve got an amazing pattern from DJSpider, which I’ll be using with some modifications. I won’t be using a zentai suit, but instead use the “socks” made in the previous tutorial. But everything else will be the same as her process is described. After making the “socks”, I turned my attention to modifying the heel of the shoe. In the television show, Huntress has purple heels. This started with using spray-on adhesive and draping some purple spandex around the back of the heel.
Once the glue was dry, I was able to trim down the extra fabric. Following the directions, I applied some hot glue to make a continuous color on the underside of the heel
Then I was ready to put the “socks” over the shoes, following directions. I taped up the shoes and let them sit overnight.
Now everything is dry! They look great and fit perfectly! I added the non-skid pads to the bottom of the toes, and I’m ready for walkin!
I’m starting with the basic leotard pattern. I added extra fabric to the curve of the bottom to make a boy-short style
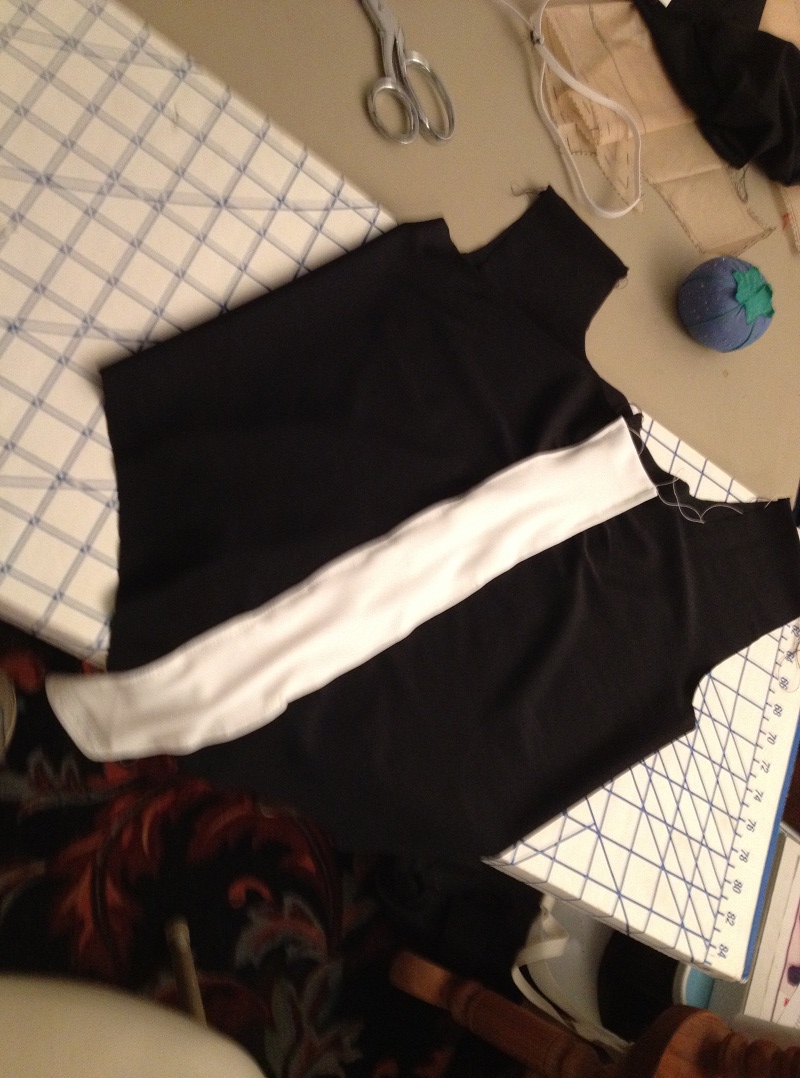
I figured it’d make sense to add the white center stripe before I started attaching the top to the bottom, adding elastic and all that fun stuff. After some thought, it seems that a 2″ width on the stripe was the best course of action. Thick enough to keep in the cartoon-style, thin enough to still look good. After some experimenting, I decided to go with a basting stitch to attach it. Here’s my first attempt at attaching it, and making sure the center stripe is straight!
Here’s the completed leotard, minus the belly window
Since I made the center stripe 2″ wide, I decided to cut 2″ of black material off of either side.
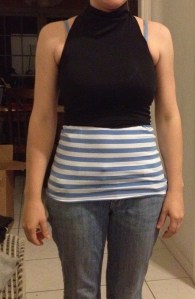
Here’s the leotard after the cuts were made
I ended up running elastic along the top and bottom edges of the tummy window, the same way I put elastic in the armholes and neckline of the leotard (following the pattern instructions). The back of the leotard is going to be covered by a cape, so I’m not concerned with the stitching showing. Here’s the finished leotard. The orange belt is a hold-over from the Deathstroke costume, and is working as a placeholder until I can get a costume-appropriate one
I was really unhappy with the top of the leotard after trying it on a few times. So, in the spirit of not remaking the whole thing, I decided to make a top. I used a combination of the current leotard, and the Deathstroke top
I stitched up the back and left room at the neck for a 5″ zipper. Here are the finished photos (before adding the white line)
My first attempt was a “fold over” technique, where the top of the fabric folds over to form the “cowl”. It didn’t work out quite right, but here’s the link in case you want to see what I did.
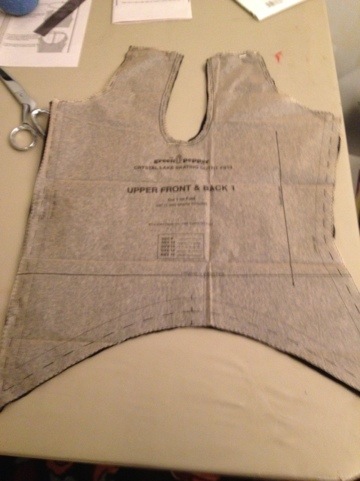
I was really unhappy with how the first cape looked, so I’m trying again! For my second attempt, I found this pattern online for a Batman cape
I started with the six-panel version (outlined by the red line), and cut six panels of equal size
I then folded each panel in half and cut along the diagonal
Here are all six pieces
And here’s it after it’s sewn together
Here are some views of it on
The next challenge was to make sure the cape would stay in place. I turned to my old friends, snaps. I got some black snaps so they would blend in, just in case, and attached one half to the shirt
Before attaching the other half of the snaps, I finished off the edges of the cape. The material is a gaberdine-type, and frays rather easily. Just a quarter-inch fold should do it
Now we add snaps to the cape!
Now that the cape will be secure on it’s own, it’s time to add the white trim! I struggled for awhile on how to do this – I didn’t want white thread showing on the black of the cape, and I didn’t want black thread showing on the white stripe. Final solution? White thread on the top of the machine, and black thread for the bobbin.
The quilters are crying out with the disturbance in the Force, but the end result is totally worth it, even if it does give me a Dark Side point in sewing
Now full steam ahead and add the white trim along the front edges. I elected to not put the white trim along the bottom, mostly due to possible time constraints. If there’s time before DragonCon, I might change my mind. But for now, the cape is complete, and I’m very pleased with how it turned out!
I decided I really didn’t like the fabric of the fingerless gloves I bought, so I’m attempting to modify my own. I had a pair of opera-length gloves lying around, so I cut the fingertips off.
Since this won’t have to stretch, I used Heat ‘n Bond again, this time 7/8″, to finish the edges
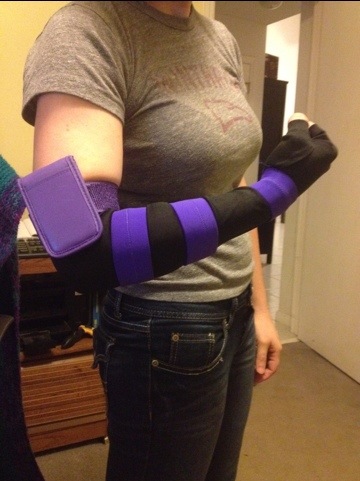
Taking a break from the sewing, I painted the arm wallets to be put at the top of the gloves
And the parts of the straps that would show
Completed arm wallets!
I used some 2″ wide elastic to make the purple bands around the arm.
I then covered the elastic in purple spandex, attaching the spandex directly to the elastic to make sure it doesn’t slip or get bunchy
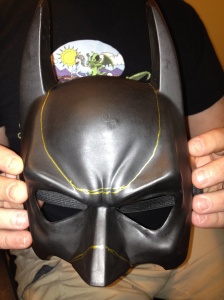
After some extensive searching online, I settled on modifying an existing Batman mask. I traced the forehead ridge line of the mask, and the line of the nose.
Using an Exacto blade, I cut along the line very slowly. The plastic was pretty soft and didn’t offer much resistance.
Here are a few shots of the mask not on my face
Since I’m going to be wearing it, I took the Dremel to the edges to round them out
The mask, although an adult side, sits very tightly across the bridge of my nose. To remedy this, I put some open cell foam (like they use for couch cushions) inside the mask, in the nose.
Initially, I was going to stretch spandex across the mask. This didn’t really work, so plan B was to paint the mask. I picked up some Testor’s Purple-licious. Here’s the first coat
A few coats and a clear coat later, and we’re ready to go!
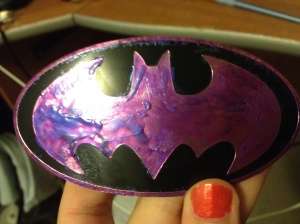
After looking at what some other people have done for the belt, I decided to do the same thing I did last year for Deathstroke. I’m going to use purple fabric paint to paint a military utility pouch. The first step was to modify the Batman belt buckle. The one I ordered has a stainless steel bat symbol, and would not hold acrylic paint. So I put purple nail polish on it first
After that, I covered the entire buckle with purple acrylic paint and let it dry
I then rinsed the buckle with warm water. All the acrylic paint on the non-treated surfaces bubbled up and washed right off, leaving only this
A few coats and touch-ups later, and it’s worthy of any Bat-family member!
I’m using a military ammo belt for the actual belt (like I did for Deathstroke last year)
Using about two coats of fabric paint, I covered all the exposed surfaces
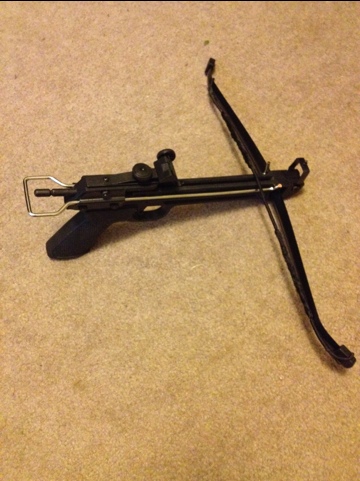
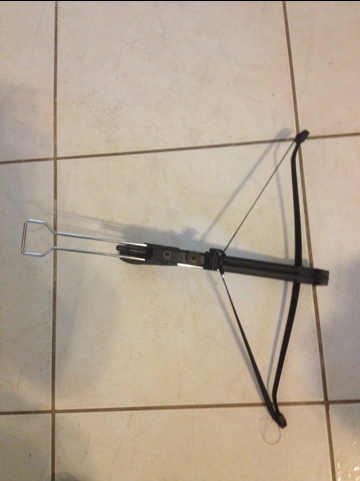
The Huntress’ best-known weapon is her handy crossbow. Brian found this one for me
Since it’s for DragonCon, the crossbow doesn’t have to be functional – it just looks awesome. I stretched some black elastic for the string of the crossbow. This eliminates the functionality of the weapon almost entirely, but still offers a great silhouette.
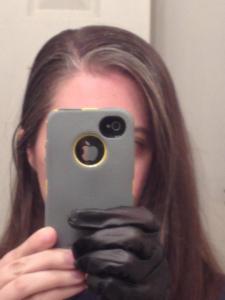
As with most superheroes (and villains!), there is a lack of brown-haired people. I didn’t want to wear a wig, since this will be in Atlanta during some of the hottest days of the year, so I thought I’d try my hand at temporary dye.
This is my regular hair color, grey streaks and all. I did not wash my hair before applying hair color. I don’t know enough about coloring hair to know if that will be an issue. Also, my hair is very thick. With box dyes, I usually require the entire box, and sometimes two boxes to get full color coverage (which is why I tend to stay with colors close to my natural color) My first test:
Pros: good coverage of grey; easy to clean up afterwards and off of skin Cons: takes a lot to do just a small part; leaves hair with a bit of a “gel” feel, although this was included in the product description Final review: I’d totally recommend this for something like a Rogue streak, or doing tips for Arkham City Harley. I’m not sure it’s something I want to use on my entire head, although it might be good for touch ups
Second test (on the left-hand side of the picture this time):
Pros: easy to use; easy to clean up afterwards and off of skin; leaves hair feeling pretty soft and manageable Cons: takes a while to dry; as with all aerosols, there was a lot of “over spray”. While it cleaned up easy enough, I had to wipe down the whole bathroom just to make sure I didn’t leave any residue Final review: I think this will be my product of choice for this costume. I may need to put a layer of hairspray or some other kind of sealant on to keep the black from smudging fingertips
Pros: easy to apply, dries without residue Cons: takes a while to apply for me, because of all the hair I have Final review: This is what I ended up using at DragonCon. The color looked good all day, didn’t smudge off on anything, and even held hairspray
Makeup
I’m pretty girl-stunted, so street makeup isn’t one of my fortes. After some online research, it seems a lot of ladies do the equivalent of stage makeup when having their picture taken, especially at cons. So I picked up a few things
Thanks to Tim Burton, the options for eye makeup for this costume gives me a lot of choices. Here are some of the considerations
Our friend over at Phoenix FX recommended purple eye liner and combining the pink and purple lipstick.


